


Hey, you! Read this introduction: What would you think if I said you could entertain and educate your child for months using just a piece of chalk – no other equipment necessary? You’d either say I was nuts or you’d hump my leg, right? Well, prepare to mount me, because here’s a timeline of 100 activities (ONE HUNDRED, people!!) to cater for every child. Whether you’ve got a tot or a teen, all you need is a single piece of chalk.
Okay, now stop thrusting and start reading!
Jump to age…
| 0-2 Years | 3-5 Years | 6-8 Years | 9-11 Years | 11-13 Years | 14-16 Years |
0-2 Years:
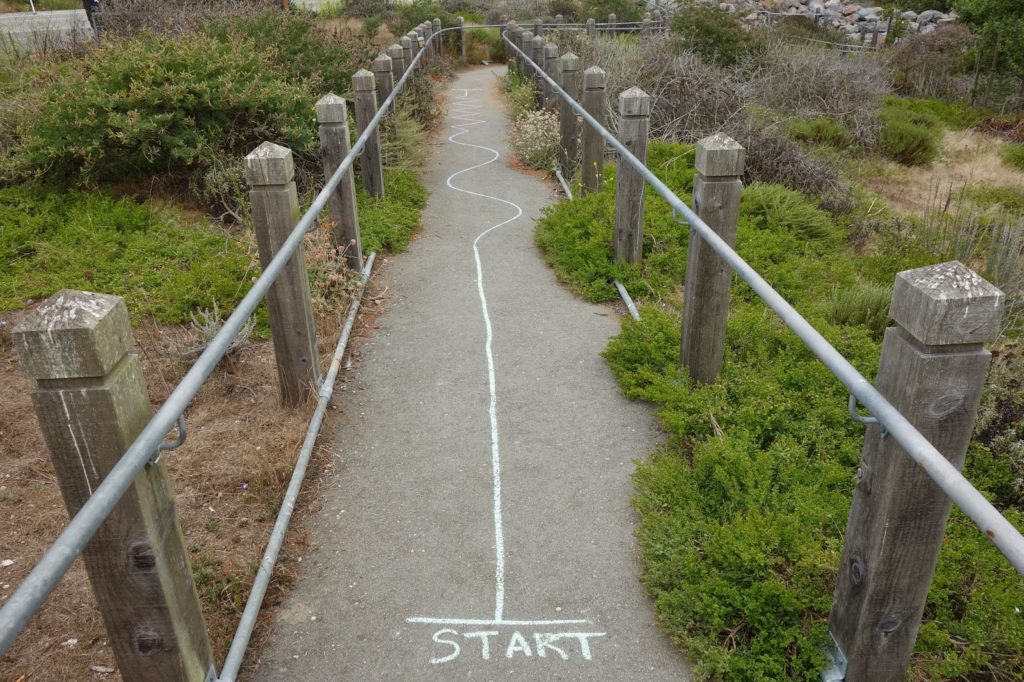
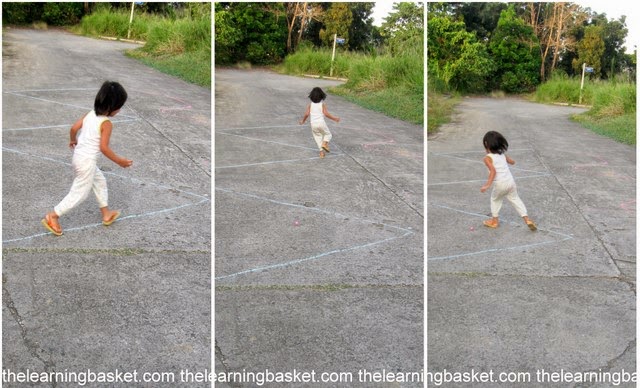
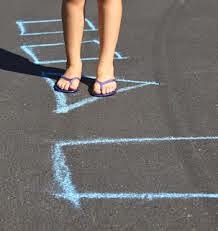
1. Walk the Line:
Have you ever noticed kids love lines? Not the kind you stand in or color outside of, but the kind you walk on. Cracks in the sidewalk, painted lines on the blacktop, stone walls, balance beams, ordinary ropes or garden hoses. So grab your chalk and draw a long line. Now encourage your child to show you how she can walk and keep her feet on the line. Balance, coordination, and concentration, oh my! Alternate the activity by challenging your child to jump down the line or to walk sideways down the line.
2. Textures:
Challenge your toddler to find different surfaces on which they can draw, such as bricks, concrete, smooth asphalt, and wooden fence. Ask him to experiment with making chalk marks on the various kinds of textures. Enhance his vocabulary by using descriptive words: bumpy, smooth, rough, jagged, hard, crumbly, and so on.
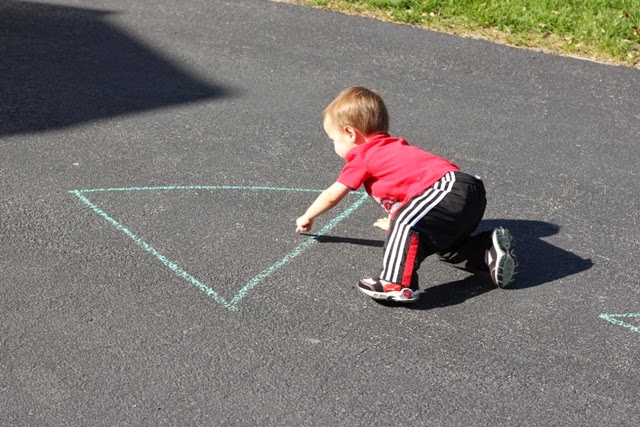
3. Step on the Shape:
This activity will fine tune your toddler’s listening skills whilst reinforcing their shape knowledge. Simply chalk shapes on the sidewalk: triangle, square, rectangle, circle. Now issue instructions to your tot: “Put two feet on the circle.” “Jump on the triangle.” “Hop on the rectangle.” “Tip-toe on the square.”
4. Zig-Zag:
Spatial awareness? Check! Zigzag pattern? Check! Gross motor skills? Check! Right then, let’s get busy! First, chalk a large zig-zag pattern on the pavement. Then invite your child to run, walk, toddle, or even crawl, along the zig-zag. This activity is ideal for pre-writers as zig-zags are the beginning of formal mark-making!
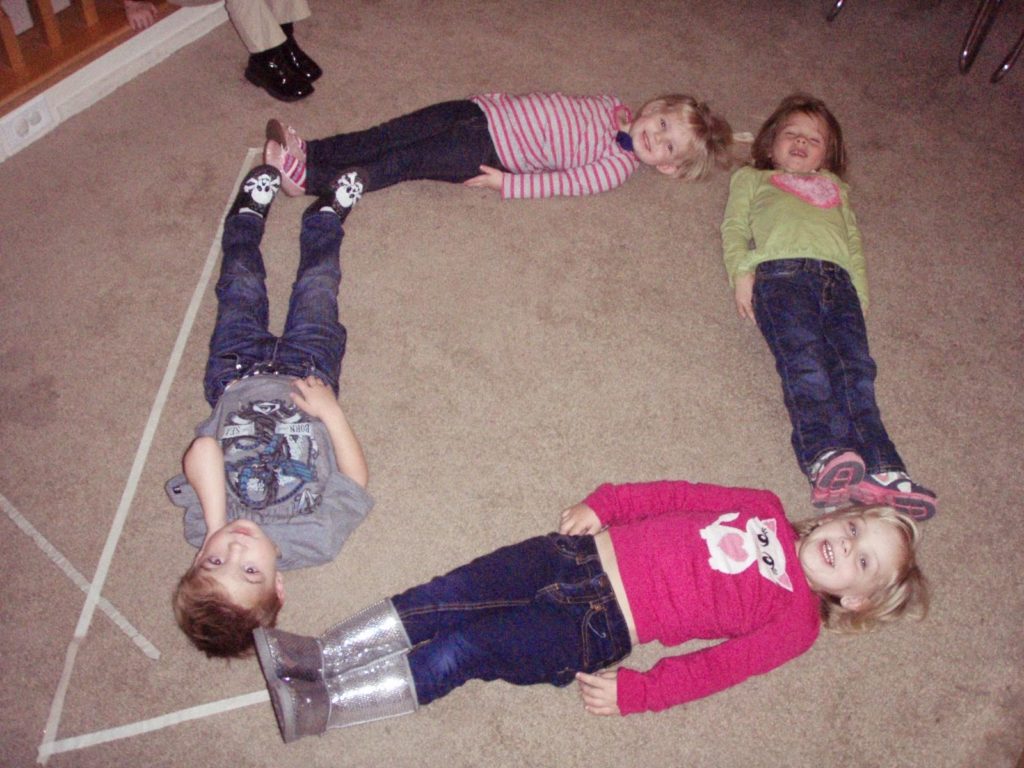
5. Shape Nap:
This activity works best with a small group of kiddos. Chalk a shape on a clean pavement, then invite the children to ‘take a nap’, lying precisely on the shape. This makes for hilarious photos!
6. Practice Pincer Grip:
Encourage your child to hold the chalk with the pointer finger on top, resting the chalk on the thumb and middle finger. This is an essential pre-writing skill so important to master. Encourage your child to mark-make like a boss!
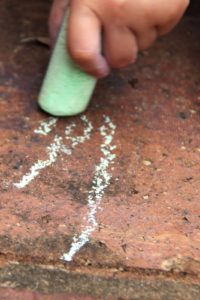
7. Writing Strokes:
Got that pincer grip sorted? Righto! Now let’s write! Chalk different types of strokes, swirls and lines on the pavement (the pic below shows paper but any dark surface will do). Now invite your child to copy. This is an essential pre-writing skill.

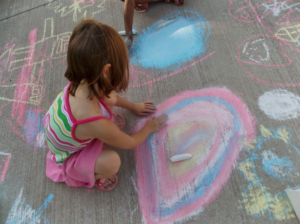
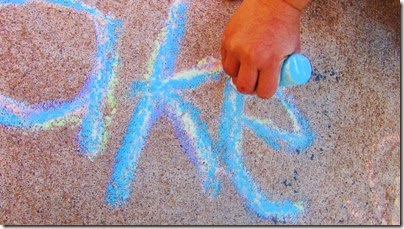
8. Smudge Chalk:
Go crazy with the chalk and then smudge it with your fingers = a tactile experience that can produce stunning art.
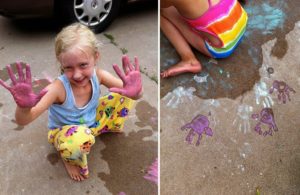
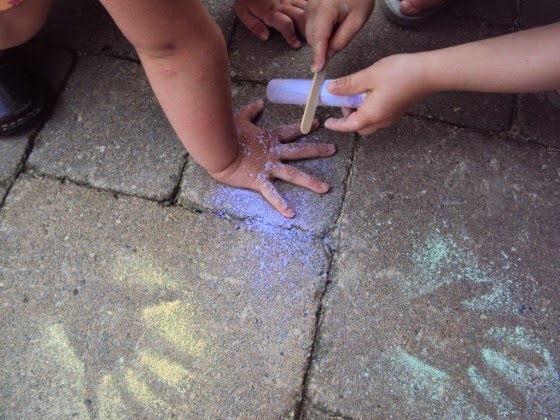
9. Hand Prints:
Take the above activity to the next level by using your chalk-covered hands to hand print. Count the prints and compare sizes. Add water if possible.
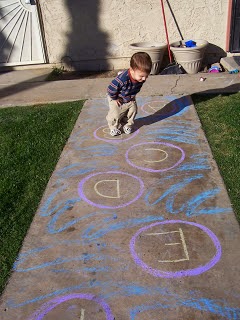
10. Letter Jumping:
You’re never too young to learn the alphabet! (No really, it’s all about rhythm). Grab your chalk and draw circles with letters in them. Invite your toddler to jump as you chant the alphabet. Don’t fall in the water! If you want to invest in this activity further, get your hands on this music CD. It’s jam packed with alphabet songs you can play whilst your tot interacts with your markings.
11. Odd One Out:
Draw three shapes that are the same and one that is not. Now ask your child to locate the shape that is the ‘odd one out’. This simple activity enhances vital observational skills.
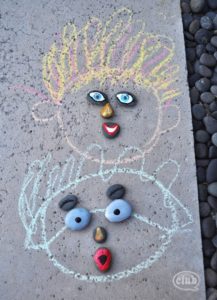
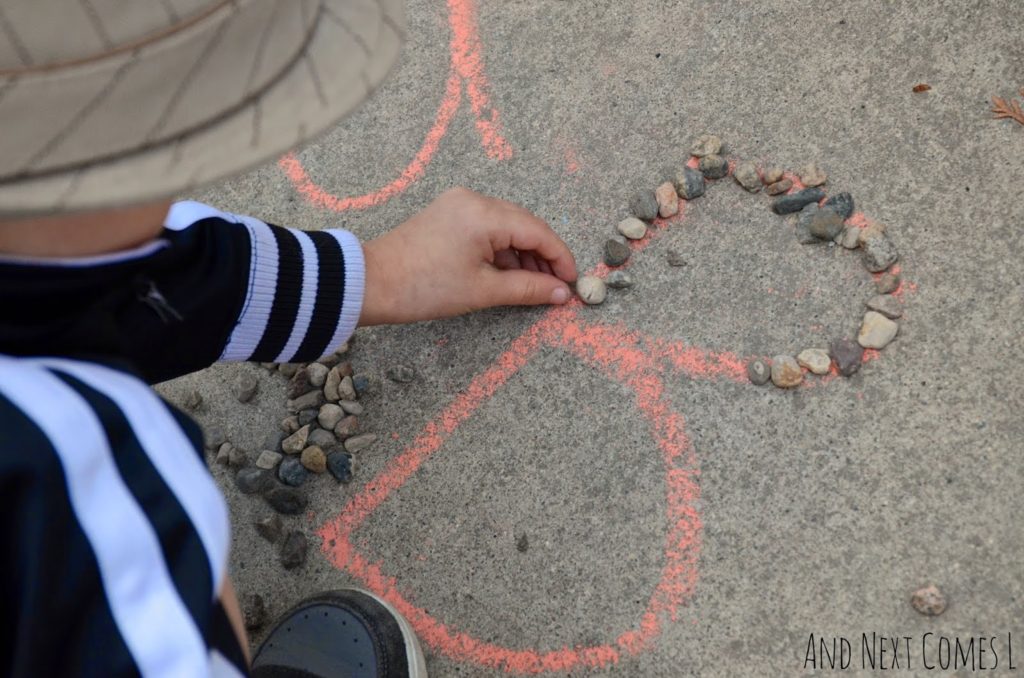
12. Chalk Faces:
Create faces on the pavement. Invite your child to draw their face. Encourage them to pay attention to their facial features by asking questions: “What color is your hair?”, “How many eyes do you have?” “How many ears?” If there are any rocks lying around, use them to add further decoration. Ditto grass and twigs.
13. Alphabet Learning:
Chalk a letter on the pavement (choose upper or lower case). Then invite your child to trace the letter with their finger (pre-writing skill alert!) Now ask them to find objects (stones, leaves, dirt, anything at all) to place along the letter. Experiment with different letters.
14. Squiggle:
Use your chalk to draw lines all over the pavement. Experiment with making them wavy, swirly and overlapping. You can even have them leading to secret places. Next invite your child to trace over the lines from beginning to end. Finally, it’s their turn to create some lines for you to trace.

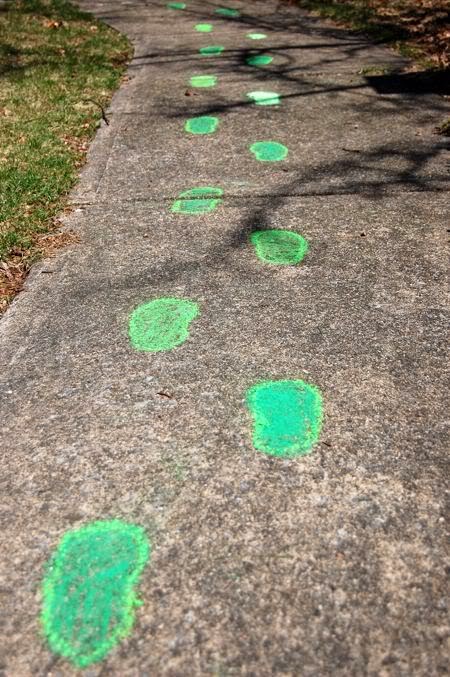
15. Follow the Footsteps:
A retake of the traditional game: ‘follow the arrows’. Simply chalk footprints and invite your child to follow them. Older children can chalk the footprints themselves and invite you to follow them. Experiment with footprint sizes and guess “who’s footprints are these?” Depending on your child’s developmental stage, you could also name a destination: “somewhere with grass” for example, and your child must then draw footprints leading to a destination that meets that description.
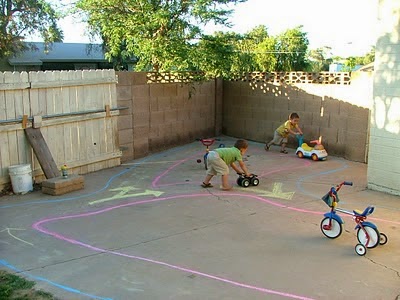
16. Hit the Road:
Chalk an elaborate ‘motorway’ on the pavement. Use it to teach your child about road safety (stop, look and listen; crossings; corners; etc). This activity is ideal with a group of children, if you can muster that. Some children can be cars and some can be pedestrians. Make sure the ‘pedestrians’ find a safe place to cross and that the ‘cars’ stop for them. Don’t worry if you don’t have any ride-in cars to hand, just pretend! You can alternate this activity by chalking a railroad and inviting the children to be trains; or chalking a sky with clouds and inviting the children to be aeroplanes – be careful not to bump into each other! Real trains and planes have strategies to prevent bumping, turn-taking and time lapses for example.
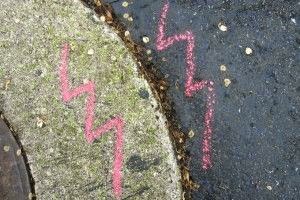
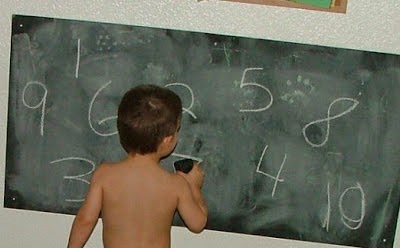
17. Erase The Number Game:
Chalk a variety of numbers. Now, whisper a number in your child’s ear or show it with your fingers and invite your child to erase that number until they are all gone. You could do the same thing with letters or words.
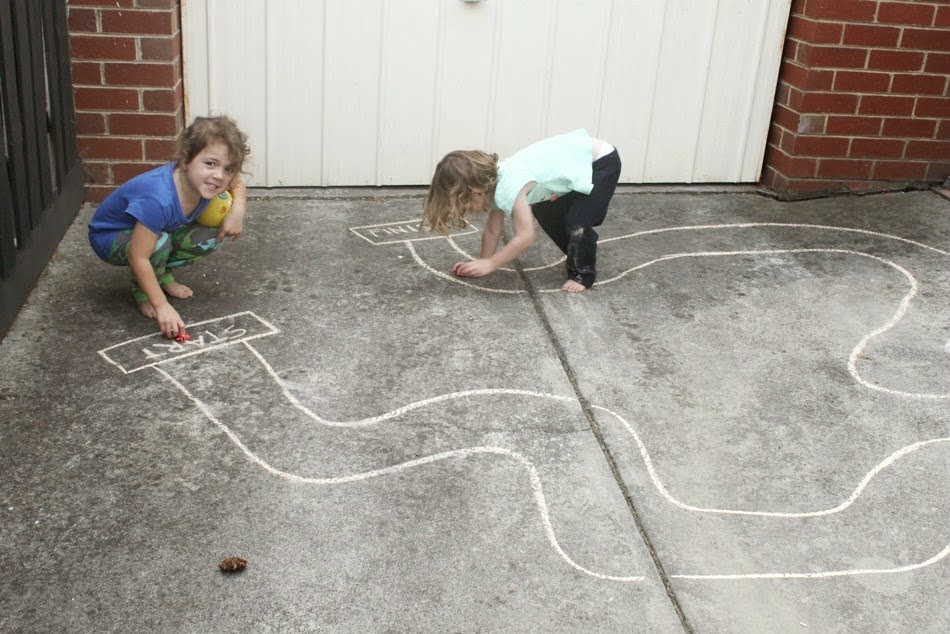
18. Bug Race Course:
Create a start and finish line then round up some critters to try out the course.
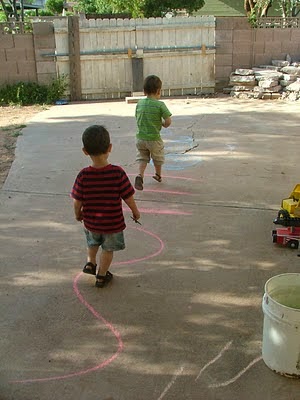
19. Obstacle Coarse:
Draw squiggly lines to follow, straight lines to jump over, spirals to spin on! The possibilities are as endless as your imagination.
20. Name Tracing:
Rare is the child that can write their name independently at this age. To aid the process, write it once and then let them trace over it. Great fine motor work!
21. Crumble Silhouettes:
Use a craft stick to file a piece of chalk: lots of fun can be had with the colourful chalk dust! If you don’t have a stick to hand, just crumble a small piece of chalk with your fingers.
22. Musical Shapes Game:
Chalk various shapes on the pavement (circles, squares, triangles, you get the idea). Make sure there’s enough of each shape for each child (so if you have 4 children, draw 4 triangles and 4 squares, you know the deal..) Now play some music (or simply sing, if you don’t have music to hand) and invite the children to dance around until you call out a shape. Now everyone has to hurry and find one to stand on. For older children, you can add an element of challenge by rubbing out a shape after each game so that next time, there aren’t enough shapes for everyone; the winner is the child left standing after all the other shapes have been rubbed out (If playing this latter version, proceed with caution, as you may have to break up a few fights!)


